
by Katherine DiGiovanni | Mar 23, 2020 | Project of the Day
If you’re like most of us, your medicine cabinet is packed with things you don’t need or use and a fair number of expired products. Let’s take a few minutes – less that 15, I promise! – to clean and organize this important spot.
Step 1: Take Everything Out
Take every last tube, jar, and bottle out of your cabinet. Place everything on the vanity or other surfaces in your bathroom.
Step 2: Clean and Disinfect Your Cabinet
Use a spray cleaner and wipe down every surface in your medicine cabinet. If the shelves are removable, you may want to take them out to clean them. Once you’ve wiped it down, use a disinfecting product (Clorox or Lysol wipes, etc.) to wipe the surfaces and allow to dry. The drying time is necessary to allow the product to work.
Step 3: Sort and Purge
Go through all of the items that were in your cabinet. Discard expired products or items you don’t use or need. If you have expired medication, put that somewhere to be recycled at a later date. Wipe down all of the items you plan to keep.
Step 4: Organize Your Shelves
Take a few minutes to put everything back in the cabinet in a way that makes sense for you. Put often used items front and center and easy to access. Put less used items up high. You might want to consider some simple organizers to help you keep things in order going forward. Here are a few that we like:
iDesign Med+ Plastic Bathroom Medicine Cabinet Organizers

iDesign Med+ Plastic Bathroom Medicine Cabinet Organizer

STORi Clear Plastic Makeup & Vanity Drawer Organizers

mDesign Modern Square Bathroom Vanity Countertop Storage Organizer

Step 5: Step Back and Admire Your Work
You’re done! And this is a visually satisfying accomplishment that you’ll be admiring at least several times a day. Congratulations!
Post a picture of your medicine cabinet and tag us @neatnikdc on social media!

by Katherine DiGiovanni | Mar 20, 2020 | Project of the Day
We’re going to finish the week strong! Let’s organize one messy or disorganized drawer in our home. This could be your junk drawer or another space that collects clutter. It’s so satisfying and the visual impact will most definitely “spark joy.” This will probably not take you more than 15 minutes.
Pick any drawer in your home – try to make it a drawer you use regularly.
Step 1: Take Everything Out
And while everything is out, take a minute to wipe out the entire drawer.
Step 2: Divide Into Categories
Sort like with like. Once you’ve done this you can assess whether any items in the drawer can be discarded, donated, or stored elsewhere. As always, be ruthless. The less you store, the easier it is to get and stay organized.
Step 3: Measure and Divide
If you don’t have individual inserts or a drawer divider, you can measure the drawer and figure out how many and the size of dividers you need to contain your individual categories. Here are some dividers we like:
Utoplike 4 Pack Bamboo Kitchen Drawer Adjustable Organizers

Kootek Desk Drawer Organizer Trays with 3-Size Drawer Dividers – 12

Simhoo Bamboo Stackable Drawer Organizers

Step 4: Put Everything Back
And voila! You’re going to really enjoy this accomplishment. Snap and picture and share it with us!
And this weekend…just relax. No projects from Neatnik. Take some time to absorb our new environment and rest. We’ll start again next week!

by Katherine DiGiovanni | Mar 19, 2020 | Project of the Day
I know, You’re thinking “This is not a project!” But hear me out: This could be the most important thing you do today. It can set you up to feel accomplished, increase your productivity for the day, and reduce your stress. Most importantly, it can lead to other good habits!
The Internet is full of great articles on the topic, so I’ll just link to a few:
You get the idea. During these times of extreme uncertainty and anxiety for everyone, try this simple, effective way to get your day started on a positive note. Get going and send us a pic!

by Katherine DiGiovanni | Mar 18, 2020 | Kitchen Organization, Project of the Day
This may seem simple and small, but we’re trying to keep things pretty bite sized this week. If you’re anything like Nicole and me, you’re pretty overwhelmed and trying to tackle a big organizing project seems like too much. We’ll try to move to some bigger things next week, but we’re focused on small wins for the next few days.
Today, we’re going to thoroughly clean our kitchen counters. Here are the steps:
Step 1: Remove Everything from the Counters
Take everything off so that your counters are completely clear.
Step 2: Wipe Down Appliances and Items Stored on the Counters
Use a microfiber cloth or sponge and thoroughly wipe down every appliance. These things get dusty and sticky.
If you’re looking for a good microfiber cloth, I like E-Cloths. E-Cloths require no cleaning agents at all – you just need water. So no toxic chemicals or anything. Just water! Here are a few that I like:
E-Cloth Microfiber Home Cleaning Starter Pack

E-Cloth Kitchen Microfiber Cleaning Cloths

E-Cloth Stainless Steel Microfiber Cleaning Cloth Pack

Step 3: Wipe Down Your Counters
Now that they’re cleared off, give your counters a really good clean using a microfiber cloth or a sponge.
Bonus Step: Consider What Really Needs to Go Back on Your Counter
You would be amazed at how nice your kitchen looks when your counters are clear. Many of us store so many things on the counter: toasters, blenders, coffee makers, slow cookers, etc. Consider what you might be able to shift off of your counters and store elsewhere. It can make a big visual impact on your kitchen and leave it looking less cluttered and more stress free. And it will be easier to keep your counters clean without so many items covering it and collecting dust and kitchen grime.
Step 4: Put Everything Back!
It’s pretty simple! Just put all of your freshly cleaned items back. Now stand back and admire your work!
Please let us know how this project went for you. Thanks for following along!
by Katherine DiGiovanni | Mar 17, 2020 | Family Organization, Pantry, Project of the Day, Time Management, Uncategorized
With the dynamic situation in the world and all of our collective overwhelm at what’s happening, if your house is anything like mine, it’s gotten a little out of control. Lots of things have been taken out, played with, and used and not many things have been put away. It always makes me feel better – calmer and more under control – when I’ve taken a little bit of time to declutter.
If you live alone or have a full house with a family, this simple, yet effective practice will have you feeling calm, cool, and collected in no time. Nicole and I call this the #Neatnik15 or the #Family15. If you have a family, this is a great way to pull together as a team and to teach your children a feeling of responsibility and empowerment.
Here’s how it works:
Set a timer on your phone or the stove for 15 minutes. Everyone in the family does as much as they can for 15 minutes cleaning up, putting away, and decluttering. You can assign areas of the house or categories to each person or you can keep it more freewheeling. You would be amazed at how much you can accomplish in 15 minutes! If you don’t get it all done in 15 minutes, no problem. If you want to keep going, set the timer for another 15 minutes. If not, you’ve gotten a lot done and can do it again tomorrow or another time. Make this a regular part of your routine and your house will be well-organized in no time! (Share your experiences with this technique on social media using #Neatnik15 or #Family15 and tag us at @NeatnikDC!)
My family and I swear by these short, but effective clean up sessions. Try it and see how you feel. Please let us know about your experiences!
by Katherine DiGiovanni | Mar 16, 2020 | Car Organization, Project of the Day
Here we go, folks! We’re all using our social distancing super powers for the near future. It’s an unsettling and uncertain time, so let’s do what we can to make the most of it.
For Neatnik, this means, tackling those organizing and spring cleaning projects you never seem to have time to do. Today begins our “Project of the Day” series to help you optimize your time at home by tackling those projects we never seem to have time to do. If you’re suddenly working from home or no longer driving your kids to school, think about these projects as things to accomplish during the time you would have spent commuting or carpooling.
Please share these daily projects with your friends and family and suggest they follow Neatnik socials. We can follow along together to clean up and organize our houses—and share our experiences!
Project #1: Clean Out Your Car
Many of us spend hours each day commuting or transporting kids to activities. When you spend that much time in your car, you need a lot of stuff. Let’s face it: for many of us, our cars are disasters! Here’s a guide to getting it cleaned up:
Step 1: Take Everything Out
Start by taking everything out of your car. Throw away the trash and put away things that don’t belong in your car. Consider what actually needs to be in your car.
Step 2: Wipe Down the Inside of Your Car
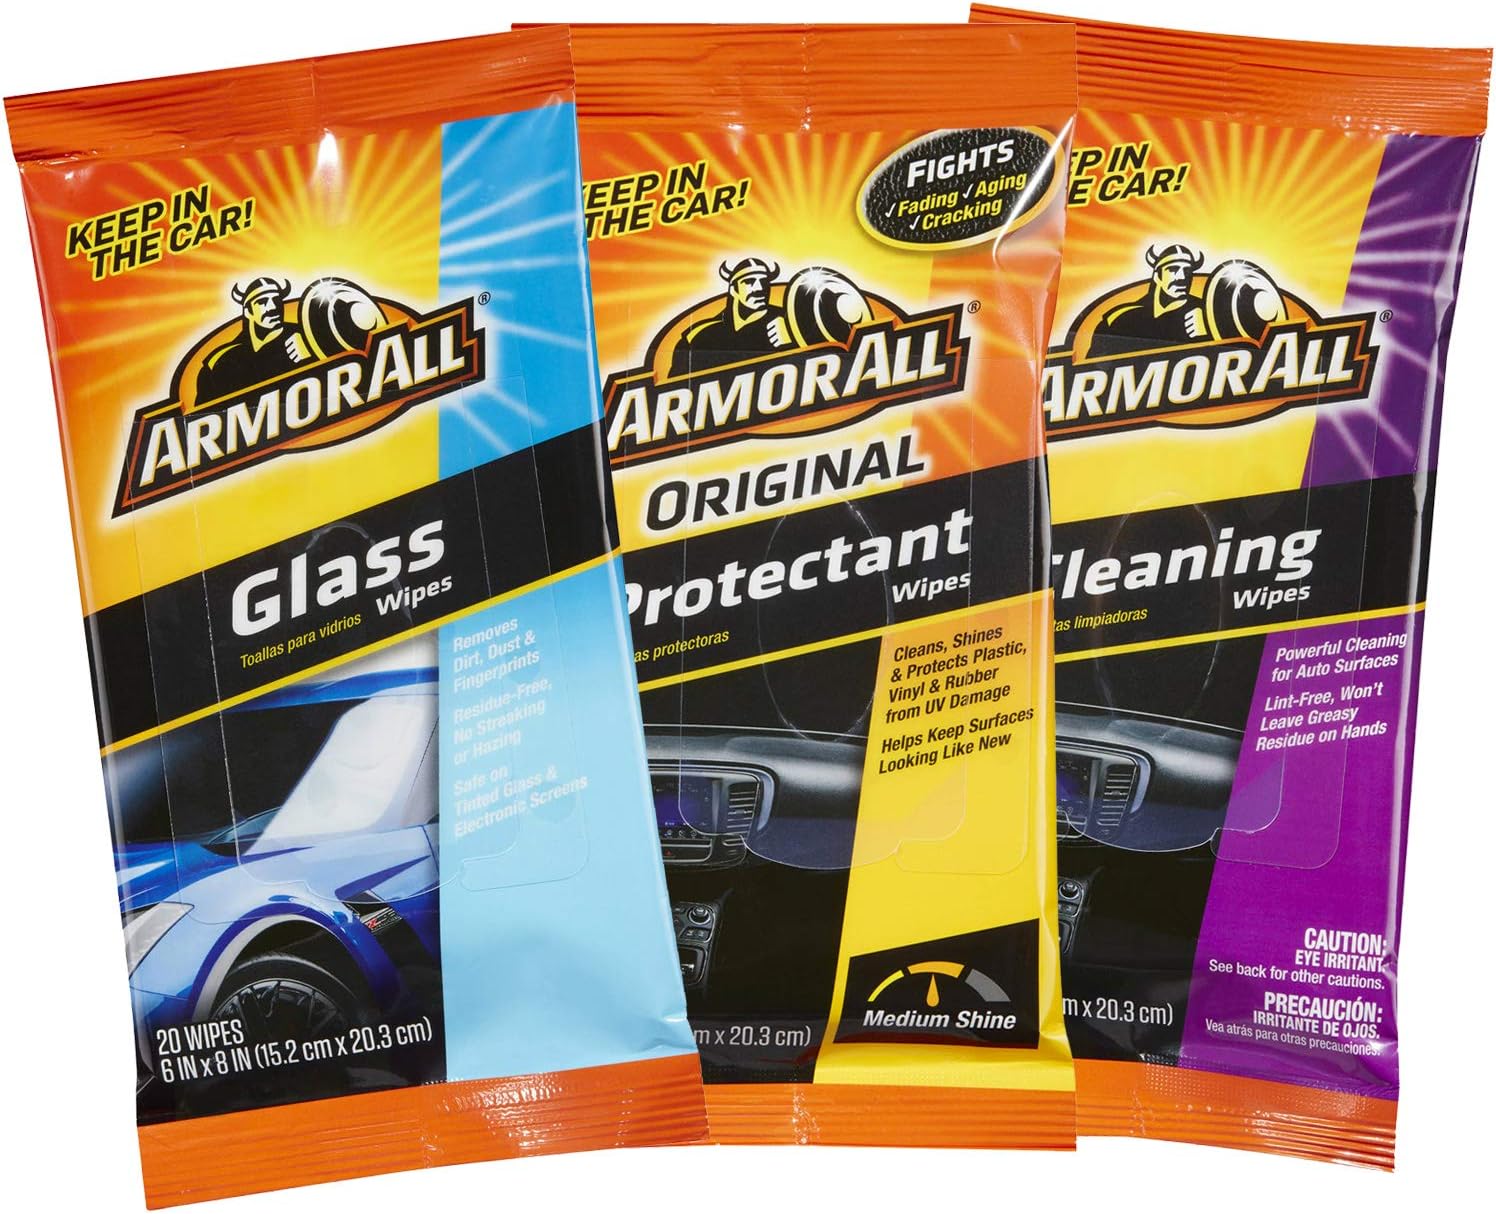
Now that your car is empty, wipe everything down. Seats, steering wheel, dashboard, handles, everything. We like to use these products for this task:
Armor All Wipes 20 Wipes in a Pouch
E-Cloth Car Cleaning Kit
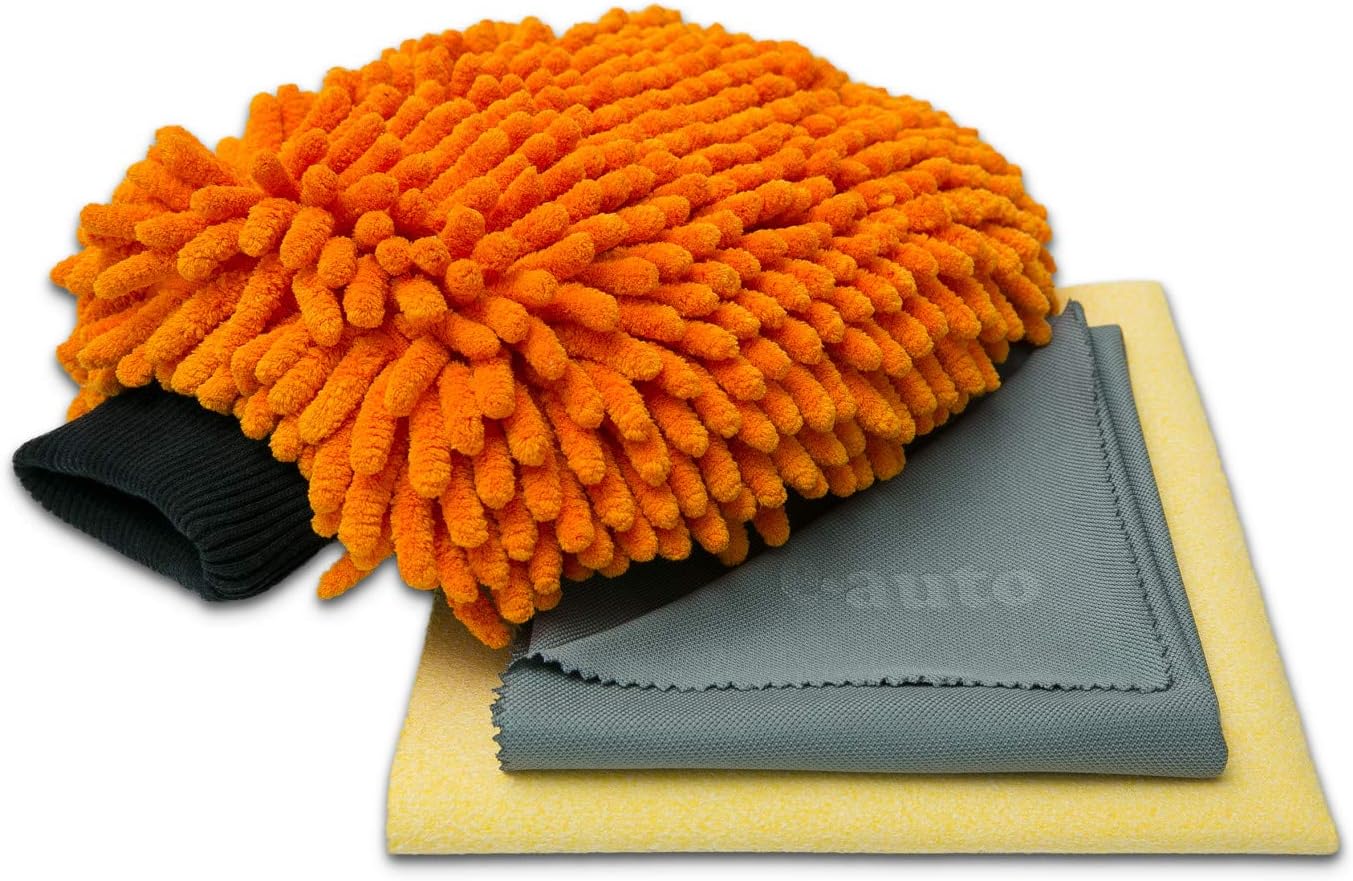
Casabella Microfiber Chenille Mini Duster, Assorted Color

Bonus Step: Vacuum Your Car
If you have time to do this and you feel like it, take out the rugs and vacuum them and the inside of your car.
I keep this in the car for vacuuming up messes as they arise and when I can:
ThisWorx Car Vacuum

Step 3: Get Organized
Think about what you really need to keep in your car. If you want to keep supplies such as hand sanitizer, wipes, pens, pencils, tissues, and some kids items in your car, make sure they’re all easily accessible.
Over-the-seat organizers work well for kids and can also be easily accessed from the front of the car, if necessary. There are a lot of good options available; just think through what you want to put in the organizer before making the purchase. Here’s one that we like:
Heavy Duty Back Seat Car Organizer

Another option for storing kids’ supplies — or just basic supplies for a back-seat passenger — is a simple, small bin with a lid. Items such as crayons, sticker books, juice boxes, snack packs and toys can be stored in a clear container that can be easily brought in and out of the car and restocked as necessary. Here is one that would work well:
IRIS Medium Deep Modular Latching Box – Silver Handle, 6 Pack

Lastly, there are some fancy organizers that can sit between two kids on a back-seat bench and are kept in place with a seat belt. If you’re looking for something more temporary and easy to take in and out, a couple of regular canvas bins can also hold snacks and supplies. Here are some options that we like in these categories:
High Road Kids Organizer

Awekris Large Storage Basket Bin Set

Step 4: Compartmentalize the trunk
Unless you’re regularly hauling large items around in your trunk (like we do!), consider keeping a few bins in the back to contain objects that are always in your car — items such as reusable shopping totes (you only need a few!), a first-aid kit, a blanket, a few water bottles and snacks, and sports equipment. It will save space to have these items organized in bins, and you won’t have random objects strewn around your car or rolling back and forth as you drive. Again, a couple of basic bins will work, but there are also storage products designed for the trunk of your car. Here are a few we like:
SCOUT Rump Roost Medium Storage Bin

MIU COLOR Foldable Car Trunk Organizer

A couple of other items you might want to keep in your car:
Mavoro Car Trash Can

Surviveware Small First Aid Kit

Down Under Outdoor Large Waterproof Windproof Stadium Blanket

Bonus Step: Keep Your Car Clean
Easier said than done, I know. But now that your car is clean, it’s pretty easy to keep it that way. Just regularly remove the trash and wipe it down. Each day, remove things that don’t belong there and put them away.
Neatnik hack: Every time I fill up my gas tank, I use that time to empty the trash out of the car and wipe everything down. The timing works out perfectly. I don’t have time to vacuum in that period of time, but the rest is done and it’s an easy way to keep up my car, which is full of snacking carpool kids most days. Try it and let me know how it works for you!